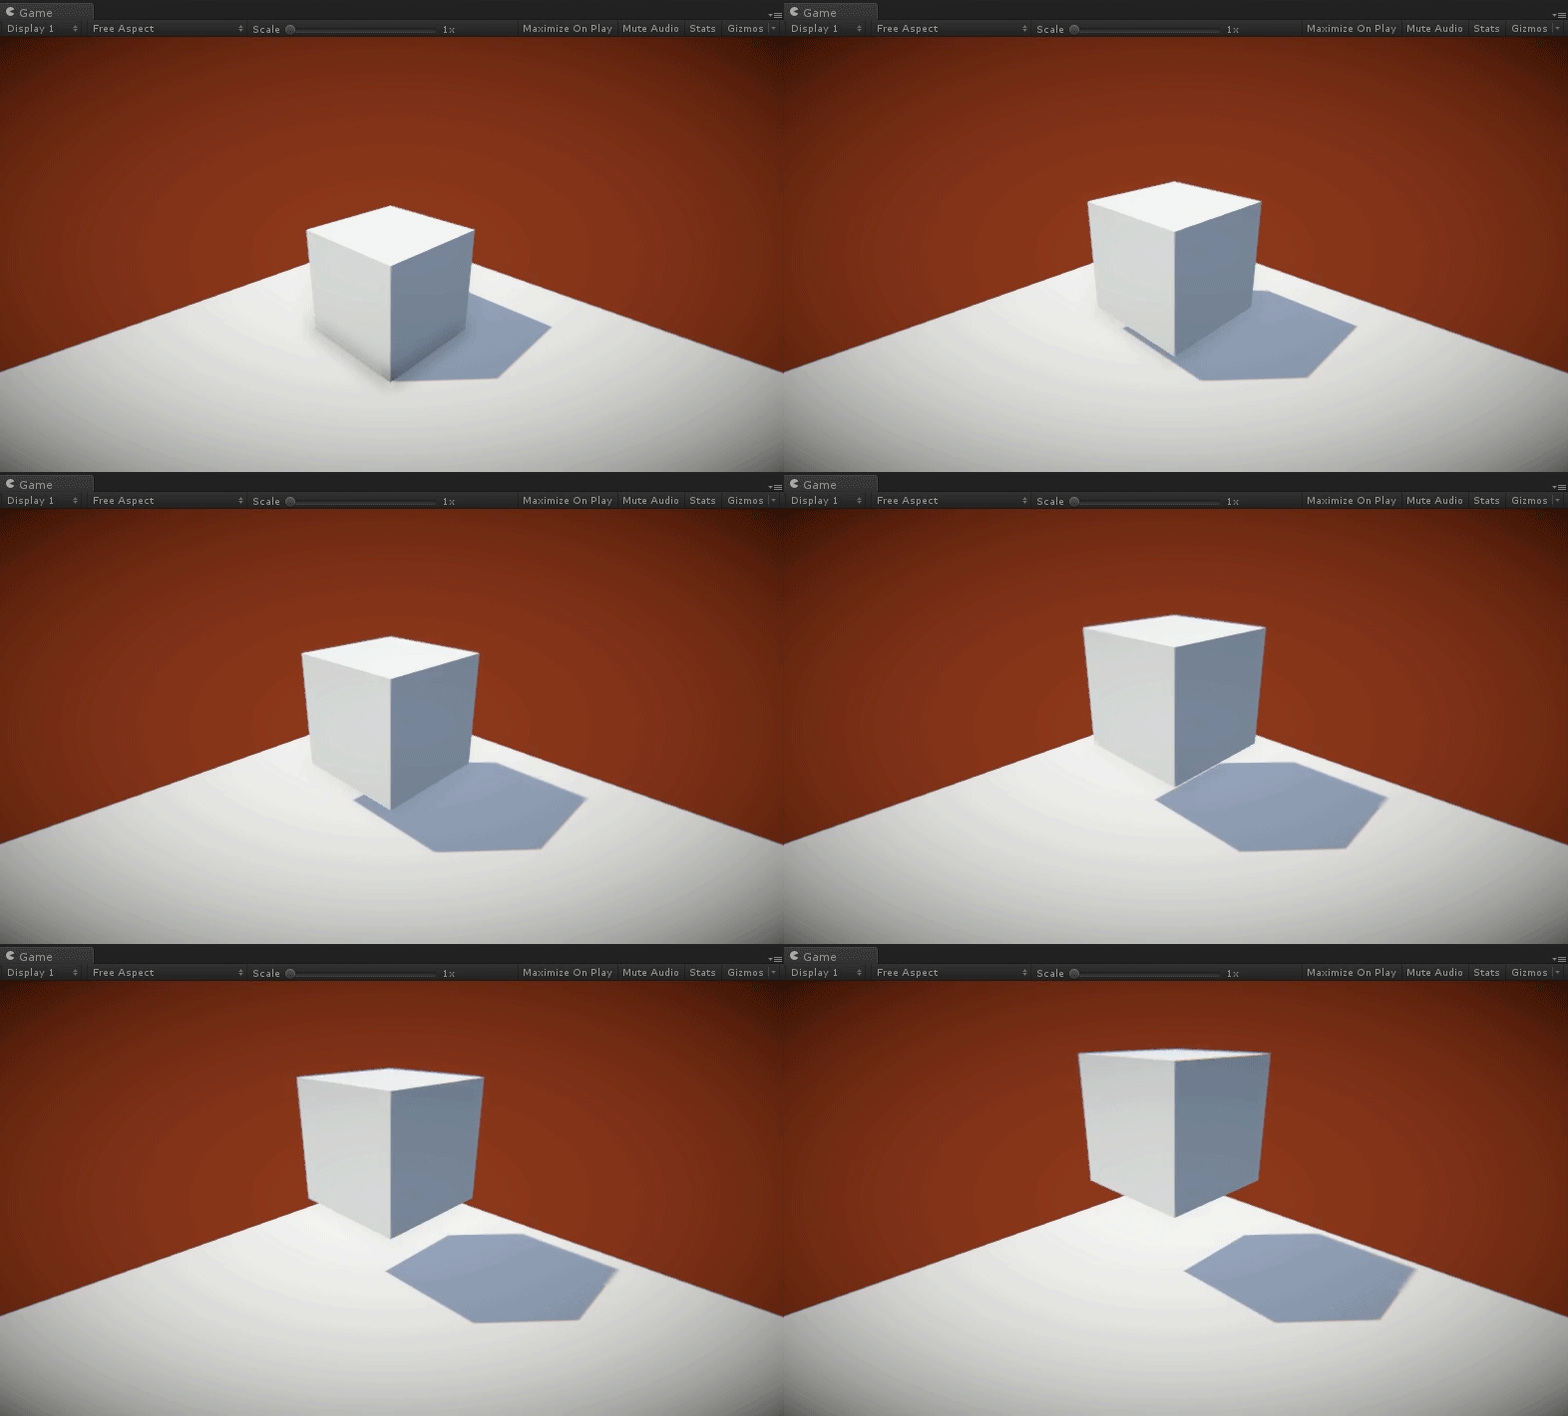
Animate anything with style and just one line of code.
With Tween in your arsenal you can move, rotate, scale, shake, fade, colorize and anything else with a very easy to use interface that allows you to add polish and effects with very little effort and a boat-load of control. Tween’s DNA comes from iTween and is created by the same developer. If you aren’t familiar with iTween it has been used by thousands of developers from all over the globe from the beginner to the AAA game studio and is even used in Minecraft! You can think of Tween as iTween with a college degree and a blackbelt in ass-kicking. Tween is easier, faster, more powerful and was built from the ground up to handle anything you need it for.
Hello World!
Tween’s syntax is very similar to a command you’d issue for someone to carry out for you:
which, when coded, translates to
which looks like

or
which translates to
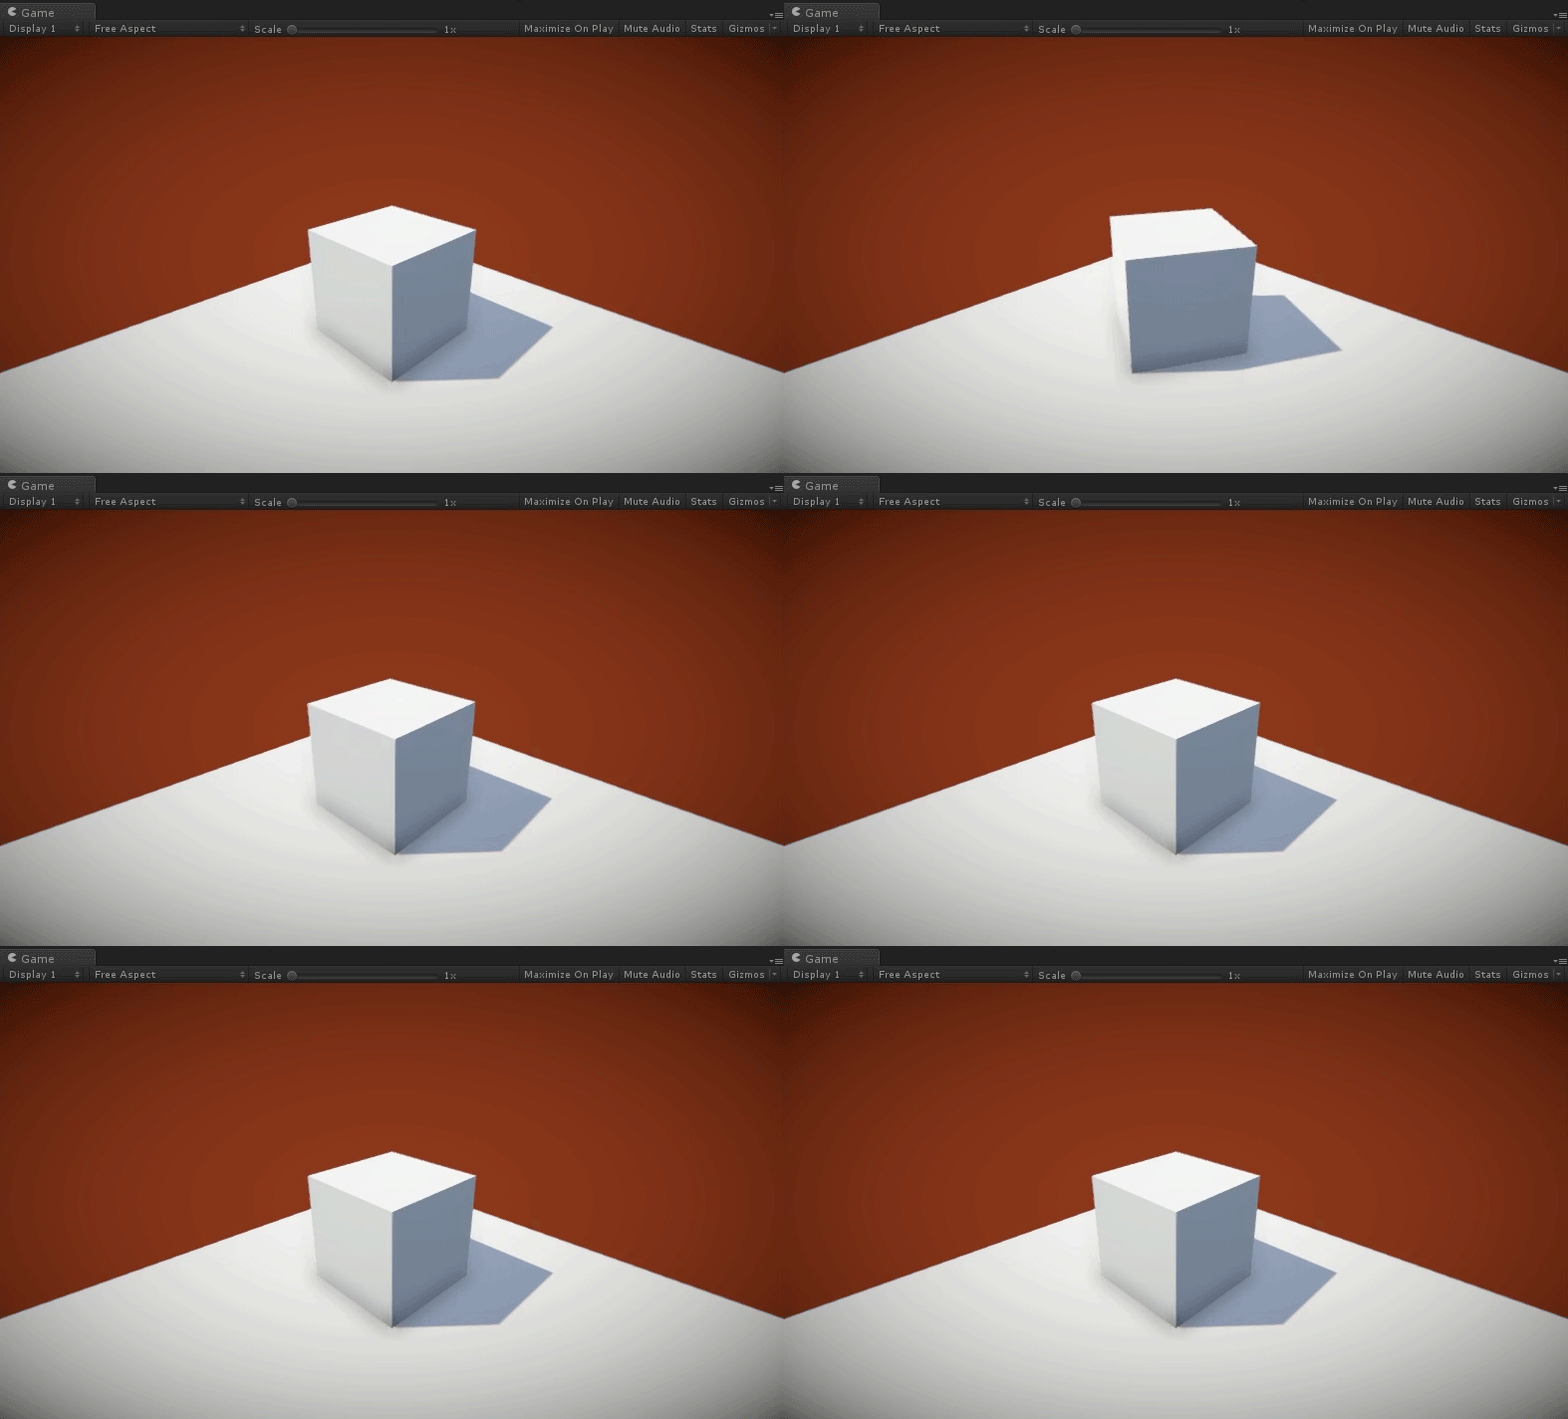
which looks like

Getting the feel just right
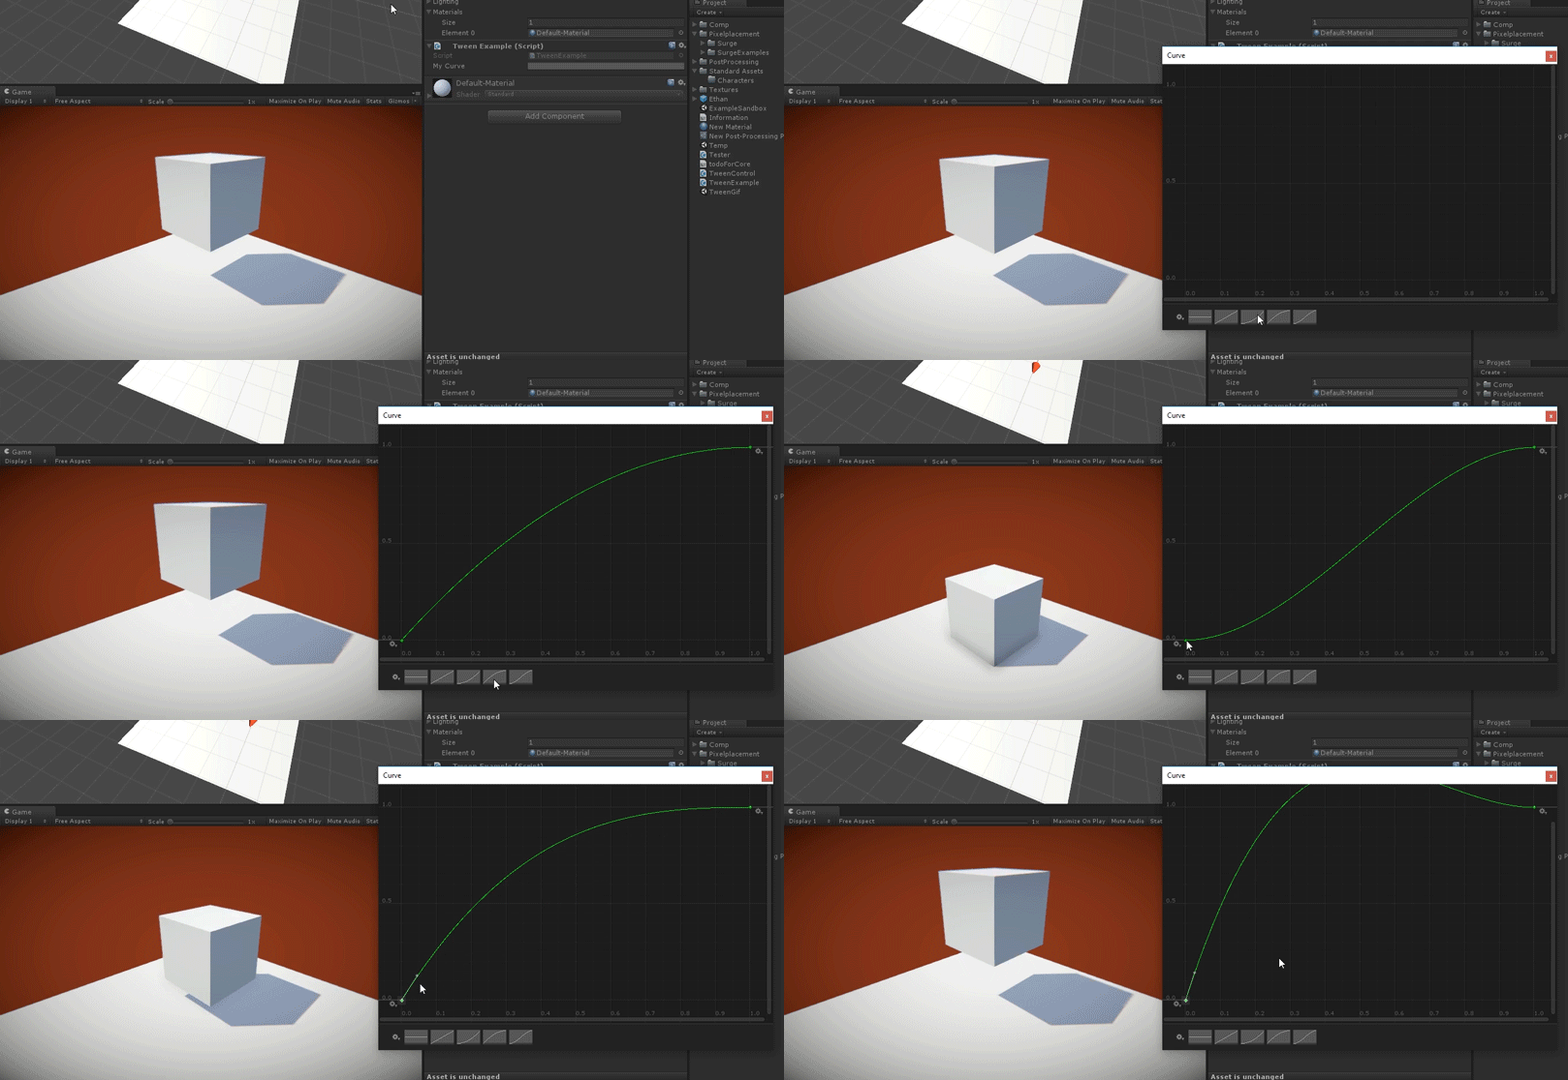
Tween utilizes Unity’s built-in AnimationCurves for controlling the easing it does. Out of the box Tween comes with a collection of ease curves that are likely to look "just right" in almost any situation.
However, if you need something custom to get the feel of your animation just right, Tween has your back. To utilize custom AnimationCurves for easing in Tween simply make a public AnimationCurve in your script, edit it in the Unity inspector and then feed it into your tween call.
using UnityEngine;
using Pixelplacement;

public class TweenExample : MonoBehaviour
{
	public AnimationCurve myCurve;

	void Awake ()
	{
		Tween.LocalPosition (transform, Vector3.up, 1, 0, myCurve);
	}
}

Looping
Tweens can be automatically repeated in two ways: looped and ping pong. Simply add the style of loop you want after your ease curve when making a Tween call.
using UnityEngine;
using Pixelplacement;

public class TweenExample : MonoBehaviour
{
	void Awake ()
	{
		Tween.LocalRotation (transform, new Vector3 (0, 90, 0), 2, 0, Tween.EaseInOutStrong, Tween.LoopType.PingPong);
	}
}
Reacting to status
Knowing when a Tween finishes or when a delayed Tween starts is helpful for progressing logic, firing off effects, triggering audio effects, transitioning scenes and more. Tween allows for 2 optional callbacks to run code when things happen or stop happening.
using UnityEngine;
using Pixelplacement;

public class TweenExample : MonoBehaviour
{
	void Awake ()
	{
		Tween.LocalScale (transform, Vector3.zero, Vector3.one, 2, 1, Tween.EaseOutBack, Tween.LoopType.None, HandleTweenStarted, HandleTweenFinished);
	}

	void HandleTweenStarted ()
	{
		Debug.Log ("This tween delayed for 1 second before it just started.");
	}

	void HandleTweenFinished ()
	{
		Debug.Log ("This tween just finished!");
	}

}
You can even use Lambda Expressions in your callbacks if you have quick code to call to avoid the need for a complete function to handle status.
using UnityEngine;
using Pixelplacement;

public class TweenLambdaExpressionCallback : MonoBehaviour
{
	public Transform myTarget;

	void Awake ()
	{
		Tween.LocalScale (myTarget, Vector3.zero, 2, 0, Tween.EaseInBack, Tween.LoopType.None, null, () => Destroy (myTarget.gameObject));
	}
}
Monitoring status
Though less efficient than utilizing Tween's status callbacks, it is also possible to query a Tween for status.
using UnityEngine;
using Pixelplacement;
using Pixelplacement.TweenSystem;

public class TweenStatus : MonoBehaviour
{
	TweenBase myTween;

	void Awake ()
	{
		myTween = Tween.Position (transform, Vector3.up, 3, .5f, Tween.EaseInOutStrong);
	}

	void Update ()
	{
		Debug.Log (myTween.Status);
	}
}
Timescale
Unity’s timescale can be adjusted to pause a game, enter slow motion or go into hyper speed. Sometimes you will want your Tweens to respect timescale differently depending on how they are used. For instance, if you are using Tween to animate a pause menu then you certainly do not want those Tweens respecting timescale or they simply won’t move once a game drops timescale to 0. By default all Tweens will obey Unity’s timescale but you can easily change that with the last, optional parameter of a Tween.
using UnityEngine;
using Pixelplacement;

public class TweenExample : MonoBehaviour
{
	void Awake ()
	{
		Time.timeScale = 0;
		Tween.LocalPosition (transform, new Vector3 (0, 1, 0), 2, 0, Tween.EaseInOutStrong, Tween.LoopType.PingPong, null, null, false);
	}
}
Physics
If you are trying to animate an object with Tween that has a rigidbody attached be sure to set the rigidbody's "isKinematic" flag to true beforehand.
Custom control
Tween has a large collection of built-in controls for animating things but sometimes you need something custom. Using a special kind of Tween called a Value you can animate or use these variations for controlling anything that Tween can’t normally do. Value tweens simply utilize an additional callback that provides the currently animating value for use as needed. Value has variations that provide callbacks that send Rect, Vector2, Vector3, Vector4, Float, Int or Color.
using UnityEngine;
using Pixelplacement;

public class TweenExample : MonoBehaviour
{
	float _buttonWidth;
	float _minWidth = 100;
	float _maxWidth = 160;

	void Awake ()
	{
		Tween.Value (_minWidth, _maxWidth, HandleButtonWidthChange, .5f, 0, Tween.EaseInOut, Tween.LoopType.PingPong);
	}

	void HandleButtonWidthChange (float value)
	{
		_buttonWidth = value;
	}

	void OnGUI ()
	{
		GUILayout.Button ("BUY NOW!", GUILayout.Width (_buttonWidth));
	}
}
Variations
Tween has two variations for each type of animation it allows: destination-only and origination-to-destination. These variations behave very differently and it’s important to know how and when to use each.
Destination-only Tweens only specify an ending value. These Tweens will simply use the current state or values as the beginning of their animation.
Origination-to-destination tweens allow for a starting and ending value. In addition to specifically setting a starting value these Tweens behave slightly different when delayed than destination-only Tweens do.
When delaying a origination-to-destination Tween it is important to note that the target will be immediately set to the provided start value and will remain at this value until the delay expires. Destination-only Tweens will begin at their current values as soon as a delay expires making them better suited for dynamic situations.
Controlling a tween
If you ever need to stop, start, cancel, finish, rewind or check status of a tween you will need to include the Pixelplacement.TweenSystem namespace.
Each tween call you make will return a TweenBase object which you can use to control the tween.
using UnityEngine;
using Pixelplacement;
using Pixelplacement.TweenSystem;

public class TweenExample : MonoBehaviour
{
	TweenBase tween;

	void Awake ()
	{
		tween = Tween.Position (transform, Vector3.zero, Vector3.up, 1, 0);
	}

	void OnGUI ()
	{
		if (GUILayout.Button ("Start")) tween.Start ();
		if (GUILayout.Button ("Cancel")) tween.Cancel ();
		if (GUILayout.Button ("Finish")) tween.Finish ();
		if (GUILayout.Button ("Rewind")) tween.Rewind ();
	}
}
Sequencing tweens
Creating complex animations are easy with multiple tweens and usage of the delay property.

The follwing code demonstrates how to perform the loading bar animation shown above with easy maintenance of delay.
using UnityEngine;
using UnityEngine.UI;
using Pixelplacement;

public class Sequence : MonoBehaviour
{
	public Image gutter;
	public Image bar;

	private float _delay;

	private void Awake()
	{
		//determine our gutter tween values:
		Vector2 gutterStartSize = new Vector2(0, gutter.rectTransform.sizeDelta.y);
		Vector2 gutterEndSize = gutter.rectTransform.sizeDelta;

		//tween our gutter in:
		Tween.Size(gutter.rectTransform, gutterStartSize, gutterEndSize, .5f, 0, Tween.EaseInOutStrong);

		//update delay:
		_delay += .5f;

		//determine our bar tween values:
		Vector2 barStartSize = new Vector2(0, bar.rectTransform.sizeDelta.y);
		Vector2 barEndSize = bar.rectTransform.sizeDelta;

		//tween our bar in:
		Tween.Size(bar.rectTransform, barStartSize, barEndSize, 1, _delay, Tween.EaseInOutStrong);

		//update delay:
		_delay += 1;

		//fade out the bar (notice we use the version of Tween here that does not use a start value - this is key for sequencing the "current" of something):
		Tween.Color(bar, Color.clear, .5f, _delay);

		//update delay:
		_delay += .5f;

		//shrink the gutter (notice we use the version of Tween here that does not use a start value - this is key for sequencing the "current" of something):
		Tween.Size(gutter.rectTransform, gutterStartSize, .5f, _delay, Tween.EaseInOutStrong);
	}
}
Tween.cs
Tween.cs is the main interface developers will use to call animations and effects. This class also houses all necessary enums for looping, ease types and the status of all running tweens.
LocalPosition
Animates the position of a transform relative to the parent transform.
Example: Move a transform from 0,0,0 to 0,1,0.
using UnityEngine;
using Pixelplacement;

public class TweenExample : MonoBehaviour
{
	void Awake ()
	{
		Tween.LocalPosition (transform, Vector3.zero, Vector3.up, 1, 0, Tween.EaseInOutStrong);
	}
}
Position
Animates the position of a transform in world space.
Example: Move a transform up by one unit in world coordinate space.
using UnityEngine;
using Pixelplacement;

public class TweenExample : MonoBehaviour
{
	void Awake ()
	{
		Tween.Position (transform, transform.position + Vector3.up, 1, 0, Tween.EaseInOutStrong);
	}
}
LocalScale
Animates the scale of a transform relative to the parent.
Example: Shrink a transform to 0,0,0 and then call a method that destroys the object.
using UnityEngine;
using Pixelplacement;

public class TweenExample : MonoBehaviour
{
	void Awake ()
	{
		Tween.LocalScale (transform, Vector3.zero, 2, 0, Tween.EaseInBack, Tween.LoopType.None, null, HandleVanish);
	}

	void HandleVanish ()
	{
		Debug.Log (gameObject.name + " was destroyed!");
		Destroy (gameObject);
	}
}
LocalRotation
Animates the rotation of a transform relative to the parent transform's rotation.
Example: Rotate a transform to 0, 90, 0 and loop it back and forth.
using UnityEngine;
using Pixelplacement;

public class TweenExample : MonoBehaviour
{
	void Awake ()
	{
		Tween.LocalRotation (transform, new Vector3 (0, 90, 0), 2, 0, Tween.EaseInOutStrong, Tween.LoopType.PingPong);
	}
}
Rotation
Animates the rotation of the transform in world space.
Example: Randomly a transform to a new rotation every second.
using UnityEngine;
using Pixelplacement;

public class TweenExample : MonoBehaviour
{
	void Awake ()
	{
		RotateToNewRotation ();
	}

	void RotateToNewRotation ()
	{
		float randomX = Random.Range (-90, 90);
		float randomY = Random.Range (-90, 90);
		float randomZ = Random.Range (-90, 90);
		Tween.Rotation (transform, new Vector3 (randomX, randomY, randomZ), Random.Range (1, 2), 0, Tween.EaseLinear, Tween.LoopType.None, null, RotateToNewRotation );
	}
}
Rotate
Rotates the Transform of a GameObject by a Vector3 amount. This is different from Rotation and LocalRotation in that it does not set the rotation it rotates by the supplied amount.
Example: Constantly rotate a transform by 45 degrees on the y-axis with a very short pause before each new rotation.
using UnityEngine;
using Pixelplacement;

public class TweenExample : MonoBehaviour
{
	void Awake ()
	{
		Tween.Rotate (transform, new Vector3 (0, 45, 0), Space.Self, 1, .25f, Tween.EaseOutBack, Tween.LoopType.Loop);
	}
}
Shake
Shakes a transform by a diminishing amount.
Example: Shake the camera every time a button is pressed. Shake needs an “initialPosition" so that subsequent shake calls will all resolve to the correct location - otherwise, the object would move to random locations as the shake completed.
using UnityEngine;
using Pixelplacement;

public class TweenExample : MonoBehaviour
{
	Vector3 _shakeIntensity = Vector3.one * .25f;
	Vector3 _cameraInitialPosition;

	void Awake ()
	{
		_cameraInitialPosition = Camera.main.transform.position;
	}

	void OnGUI ()
	{
		if (GUILayout.Button ("Shake!"))
		{
			Tween.Shake (Camera.main.transform, _cameraInitialPosition, _shakeIntensity, .5f, 0);
		}
	}
}
Spline
Animates a transform along a Surge spline path from a start percentage to an end percentage.
Example: Move an object back and forth along a Surge spline.
using UnityEngine;
using Pixelplacement;

public class TweenExample : MonoBehaviour
{
	public Spline _mySpline;

	void Awake ()
	{
		Tween.Spline (_mySpline, transform, 0, 1, true, 3, 0, Tween.EaseInOut, Tween.LoopType.PingPong);
	}
}
CanvasGroupAlpha
Animates the alpha of a Canvas object.
Example: Fade a Canvas in.
using UnityEngine;
using Pixelplacement;

public class TweenExample : MonoBehaviour
{
	public CanvasGroup _canvasGroup;

	void Awake ()
	{
		Tween.CanvasGroupAlpha (_canvasGroup, 0, 1, 1, 0);
	}
}
Value
Ideal for custom tween solutions. These tweens utilize a valueUpdatedCallback for using the animated values.
Example: Pulse the width of a GUILayout button.
using UnityEngine;
using Pixelplacement;

public class TweenExample : MonoBehaviour
{
	float _buttonWidth;
	float _minWidth = 100;
	float _maxWidth = 160;

	void Awake ()
	{
		Tween.Value (_minWidth, _maxWidth, HandleButtonWidthChange, .5f, 0, Tween.EaseInOut, Tween.LoopType.PingPong);
	}

	void HandleButtonWidthChange (float value)
	{
		_buttonWidth = value;
	}

	void OnGUI ()
	{
		GUILayout.Button ("BUY NOW!", GUILayout.Width (_buttonWidth));
	}
}
ShaderVector
Changes the named vector property of a Material's shader.
Example: Ping-pong a material’s “_Color" property between black and white.
using UnityEngine;
using Pixelplacement;

public class TweenExample : MonoBehaviour
{
	public Renderer renderer;

	void Awake ()
	{
		Tween.ShaderVector (renderer.material, "_Color", new Vector4 (0, 0, 0, 1), new Vector4 (1, 1, 1, 1), 1, 0, Tween.EaseLinear, Tween.LoopType.PingPong);
	}
}
ShaderInt
Changes the named int property of a Material's shader.
Example: Ping-pong a material’s “myValue" property between 1 and 5.
using UnityEngine;
using Pixelplacement;

public class TweenExample : MonoBehaviour
{
	public Renderer renderer;

	void Awake ()
	{
		Tween.ShaderInt (renderer.material, "myValue", 0, 5, 1, 0, Tween.EaseLinear, Tween.LoopType.PingPong);
	}
}
ShaderColor
Changes the named color property of a Material's shader.
Example: Ping-pong a material’s “_Color" property transparent (white) and opaque (white).
using UnityEngine;
using Pixelplacement;

public class TweenExample : MonoBehaviour
{
	public Renderer renderer;

	void Awake ()
	{
		Tween.ShaderColor (renderer.material, "_Color", new Color (1, 1, 1, 0), Color.white, 1, 0, Tween.EaseLinear, Tween.LoopType.PingPong);
	}
}
ShaderFloat
Changes the named float property of a Material's shader.
Example: Ping-pong a material’s “_Metallic" property between 0 and 1.
using UnityEngine;
using Pixelplacement;

public class TweenExample : MonoBehaviour
{
	void Awake ()
	{
		Tween.ShaderFloat (GetComponent ().material, "_Metallic", 0, 1, 1, 0, Tween.EaseLinear, Tween.LoopType.PingPong);
	}
}
Pitch
Changes the pitch of an AudioSource.
Example: Play with an audio source’s pitch!
using UnityEngine;
using Pixelplacement;

public class TweenExample : MonoBehaviour
{
	public AudioSource audioSource;

	void Awake ()
	{
		audioSource.loop = true;
	}

	void OnGUI ()
	{
		if (GUILayout.Button ("Pitch Up")) Tween.Pitch (audioSource, 1, .5f, 0);
		if (GUILayout.Button ("Pitch Down")) Tween.Pitch (audioSource, 0, .5f, 0);
	}
}
PanStereo
Changes the stereo pan of an AudioSource.
Example: Play with an audio source’s panning!
using UnityEngine;
using Pixelplacement;

public class TweenExample : MonoBehaviour
{
	public AudioSource audioSource;

	void Awake ()
	{
		audioSource.loop = true;
	}

	void OnGUI ()
	{
		if (GUILayout.Button ("Pan Left")) Tween.PanStereo (audioSource, -1, .5f, 0);
		if (GUILayout.Button ("Pan Middle")) Tween.PanStereo (audioSource, 0, .5f, 0);
		if (GUILayout.Button ("Pan Right")) Tween.PanStereo (audioSource, 1, .5f, 0);
	}
}
Volume
Changes the volume of an AudioSource.
Example: Play with an audio source’s volume!
using UnityEngine;
using Pixelplacement;

public class TweenExample : MonoBehaviour
{
	public AudioSource audioSource;

	void Awake ()
	{
		audioSource.loop = true;
	}

	void OnGUI ()
	{
		if (GUILayout.Button ("Volume Up")) Tween.Volume (audioSource, 1, 1, 0);
		if (GUILayout.Button ("Volume Down")) Tween.Volume (audioSource, 0, 1, 0);
	}
}
Size
Changes the width and height of a RectTransform.
Example: Pop a RectTransform (maybe an Image in a UI) from a width/height of 0,0 to 100,100.
using UnityEngine;
using Pixelplacement;

public class TweenExample : MonoBehaviour
{
	public RectTransform rectTransform;

	void Awake ()
	{
		Tween.Size (rectTransform, Vector2.zero, new Vector2 (100, 100), 1, 0, Tween.EaseSpring);
	}
}
FieldOfView
Changes the field of view (FOV) of a camera.
Example: Animate the FOV of a camera.
using UnityEngine;
using Pixelplacement;

public class TweenExample : MonoBehaviour
{
	void Awake ()
	{
		Tween.FieldOfView (Camera.main, 10, 60, 3, 0, Tween.EaseInOutStrong);
	}
}
LightRange
Changes the range of a light.
Example: Shrink the range of a Point Light to nothing.
using UnityEngine;
using Pixelplacement;

public class TweenExample : MonoBehaviour
{
	public Light light;

	void Awake ()
	{
		Tween.LightRange (light, 0, 3, 0, Tween.EaseInOutStrong);
	}
}
LightIntensity
Changes the intensity of a light.
Example: Fade a light up from complete darkness.
using UnityEngine;
using Pixelplacement;

public class TweenExample : MonoBehaviour
{
	public Light light;

	void Awake ()
	{
		Tween.LightIntensity (light, 0, 1, 3, 0);
	}
}
Color
Animates the color of a target.
Example: Animate the color of a sprite to red.
using UnityEngine;
using Pixelplacement;

public class TweenExample : MonoBehaviour
{
	public SpriteRenderer sprite;

	void Awake ()
	{
		Tween.Color (sprite, Color.red, 1, 0);
	}
}
AnchoredPosition
Moves a RectTransform relative to it's reference anchor.
Example: Slide an image that is anchored to the left in from the left.
using UnityEngine;
using Pixelplacement;

public class TweenExample : MonoBehaviour
{
	public RectTransform rectTransform;

	void Awake ()
	{
		Tween.AnchoredPosition (rectTransform, new Vector2 (-rectTransform.sizeDelta.x, 0), Vector2.zero, 1, 0, Tween.EaseInOutStrong);
	}
}
LookAt
Rotates a LookAt operation.
Example: Animate the facing direction of an object to look at one of two targets.
using UnityEngine;
using Pixelplacement;

public class TweenExample : MonoBehaviour
{
	public Transform target1;
	public Transform target2;

	void OnGUI ()
	{
		if (GUILayout.Button ("Look at target 1")) Tween.LookAt (transform, target1, Vector3.up, 1, 0, Tween.EaseInOutBack);
		if (GUILayout.Button ("Look at target 2")) Tween.LookAt (transform, target2, Vector3.up, 1, 0, Tween.EaseInOutBack);
	}
}
Stop
Stop/pause a tween.
Example: Stop a looping tween.
using UnityEngine;
using Pixelplacement;

public class TweenExample : MonoBehaviour
{
	void Awake ()
	{
		Tween.Position (transform, Vector3.zero, Vector3.up, 2, 0, Tween.EaseInOutStrong, Tween.LoopType.PingPong);
	}

	void OnGUI ()
	{
		if (GUILayout.Button ("Stop")) Tween.Stop (transform.GetInstanceID ());
	}
}
Cancel
Cancels a tween and sets it to its original value.
Example: Cancel a tween.
using UnityEngine;
using Pixelplacement;

public class TweenExample : MonoBehaviour
{
	void Awake ()
	{
		Tween.Position (transform, Vector3.zero, Vector3.up, 10, 0);
	}

	void OnGUI ()
	{
		if (GUILayout.Button ("Cancel")) Tween.Cancel (transform.GetInstanceID ());
	}
}
Finish
Finishes a tween. This sets a tween to its final value and stops it.
Example: Finish all tweens.
using UnityEngine;
using Pixelplacement;

public class TweenExample : MonoBehaviour
{
	void Awake ()
	{
		Tween.Position (transform, Vector3.zero, Vector3.up, 10, 0);
	}

	void OnGUI ()
	{
		if (GUILayout.Button ("Finish")) Tween.FinishAll ();
	}
}
TweenBase.cs
TweenBase.cs is the base class all included tween operations utilize to execute animations and store appropriate values. You would only use TweenBase.cs if you are creating custom internal tween styles or you need to create a reference to a specific tween for control or reuse. Each tween call you make to Tween.cs class will return a TweenBase. To make use of TweenBase you must include the Pixelplacement.TweenSystem namespace in your class.
Example: VCR controls for a tween.
using UnityEngine;
using Pixelplacement;
using Pixelplacement.TweenSystem;

public class TweenExample : MonoBehaviour
{
	TweenBase tween;

	void Awake ()
	{
		tween = Tween.Position (transform, Vector3.zero, Vector3.up, 1, 0);
	}

	void OnGUI ()
	{
		if (GUILayout.Button ("Start")) tween.Start ();
		if (GUILayout.Button ("Pause")) tween.Stop ();
		if (GUILayout.Button ("Resume")) tween.Resume ();
		if (GUILayout.Button ("Cancel")) tween.Cancel ();
		if (GUILayout.Button ("Finish")) tween.Finish ();
		if (GUILayout.Button ("Rewind")) tween.Rewind ();
	}
}
Start
Starts or restarts tween - interrupts a delay and allows a canceled or finished tween to restart.
Stop
Stop/pause a tween.
Resume
Resumes a stopped/paused tween.
Cancel
Cancels a tween and sets it to its original value.
Finish
Finishes a tween. This sets a tween to its final value and stops it.
Rewind
Rewinds a tween.